Showing posts with label buttermilk. Show all posts

Saturday, March 15, 2014

Strawberry Scones


I made these scones last weekend and they turned out to be delicious! I ran across this recipe online when I was searching for new things that I could make with some leftover buttermilk. I rarely buy buttermilk, so when I have it around I want to use it!

To make 6 large strawberry scones (or probably 8-10 medium sized scones) you will need:
  • 3/4 cup (FROZEN or FRESHSTRAWBERRIES, chopped
  • 2 & 1/4 cup FLOUR
  • 1/2 Tbs BAKING POWDER
  • 1/2 tsp BAKING SODA
  • 1/4 cup GRANULATED SUGAR
  • 1/2 tsp SALT
  • 1 stick very cold UNSALTED BUTTER, cubed
  • 3/4 cup BUTTERMILK
  • 1/2 tsp LEMON JUICE
  • 1 tsp VANILLA EXTRACT
For topping:
  • 1 & 1/2 Tbs UNSALTED BUTTER, melted
  • 2 Tbs LARGE CRYSTAL SUGAR or GRANULATED SUGAR

Start off by chopping the strawberries into bite sized pieces. Then stick them in the freezer while you prepare the dough. Freezing the strawberries will prevent the juices from oozing when you mix them into the dough making the dough too wet. (If you use pre-frozen strawberries you obviously don't have to wait around for the strawberries to freeze which makes the process go faster!)

Cut the stick of butter into cubes and then put it in the freezer with the strawberries to allow the butter to get very cold! When your strawberries are pretty frozen (this could take about an hour if you use fresh strawberries) preheat your oven to 400 degrees F and line a baking sheet with parchment paper.


Sift the flour, baking powder, baking soda, sugar, and salt into a large bowl. Mix well to make sure all of the ingredients are equally dispersed. Next cut the cold butter into the flour using either a pastry cutter or two knives. You want to end up with pea sized balls of butter in a coarse flour mixture.


In a small bowl, mix the buttermilk, lemon juice, and vanilla extract. Pour the buttermilk mixture and frozen strawberries over the flour mixture.


Gently mix together the wet ingredients and dry ingredients with a spatula until the dough just starts to form. (I had to add a few extra tablespoons of buttermilk to get the dough to come together. If you need to add more liquid be careful to not add too much, add it one tablespoon at a time!)


Once the dough will just hold together, (I should still be kind of crumbly!) form it into a rectangle on a floured surface. Press the dough out to be about 1 & 1/2 inches thick.


Next, brush the melted butter onto the dough and sprinkle the sugar on top. The sugar will almost create a crust on top of the scones once baked.


Cut the large rectangle into 6 pieces and then transfer them to the baking sheet. You could cut the scones into smaller pieces if you don't want such large scones.


Then bake for 25-30 minutes! Look how much they grew!


 Don't they look yummy!


Strawberry Scones
Ingredients:
To make 6 large strawberry scones you will need:
  • 3/4 cup (FROZEN or FRESHSTRAWBERRIES, chopped
  • 2 & 1/4 cup FLOUR
  • 1/2 Tbs BAKING POWDER
  • 1/2 tsp BAKING SODA
  • 1/4 cup GRANULATED SUGAR
  • 1/2 tsp SALT
  • 1 stick very cold UNSALTED BUTTER, cubed
  • 3/4 cup BUTTERMILK
  • 1/2 tsp LEMON JUICE
  • 1 tsp VANILLA EXTRACT
For topping:
  • 1 & 1/2 Tbs UNSALTED BUTTER, melted
  • 2 Tbs LARGE CRYSTAL SUGAR or GRANULATED SUGAR
    Directions:
    1. Chop the strawberries into bite sized pieces. Then stick them in the freezer while you prepare the dough. 
    2. Cut the stick of butter into cubes and then put it in the freezer with the strawberries to allow the butter to get very cold! 
    3. When your strawberries are pretty frozen (this could take about an hour if you use fresh strawberries) preheat your oven to 400 degrees F and line a baking sheet with parchment paper
    4. Sift the flour, baking powder, baking soda, sugar, and salt into a large bowl. Mix well to make sure all of the ingredients are equally dispersed. 
    5. Cut the cold butter into the flour using either a pastry cutter or two knives. You want to end up with pea sized balls of butter in a coarse flour mixture.
    6. In a small bowl, mix the buttermilk, lemon juice, and vanilla extract. Pour the buttermilk mixture and frozen strawberries over the flour mixture. Gently mix together the wet ingredients and dry ingredients with a spatula until the dough just starts to form. (I had to add a few extra tablespoons of buttermilk to get the dough to come together. If you need to add more liquid be careful to not add too much, add it one tablespoon at a time!)
    7. Once the dough will just hold together, (I should still be kind of crumbly!) form it into a rectangle on a floured surface. Press the dough out to be about 1 & 1/2 inches thick. 
    8. Next, brush the melted butter onto the dough and sprinkle the sugar on top. The sugar will almost create a crust on top of the scones once baked.
    9. Cut the large rectangle into 6 pieces and then transfer them to the baking sheet. You could cut the scones into smaller pieces if you don't want such large scones. Then bake for 25-30 minutes


      I adapted this recipe from a recipe I found on the following site: http://www.breadtastic.com/quick-breads/tartines-strawberry-buttermilk-scones/

      Tuesday, March 11, 2014

      Butterbeer Cupcakes


      A few months ago my husband and I started hosting a dinner and a movie night once a week. We have been working our way through the Harry Potter series and finally finished last weekend (I have mixed emotions anytime Harry Potter comes to an end). In honor of the movies I decided to try my hand at making some butterbeer cupcakes. I found this recipe on Pinterest and have been dying to try them!


      If you are like me and haven't been able to make your way down to The Wizarding World of Harry Potter yet you might wonder 'What does butterbeer even taste like???'. After doing some research, I found that most copycat butterbeer recipes contains some combination of melted butter (or imitation butter flavor), cream soda, butterscotch, and sometimes rum. In the case of these cupcake, the 'butterbeer' flavor comes mostly from butterscotch chips, imitation butter flavor, and a little bit of cream soda. Maybe next time I'll experiment and try to work in some rum...

      These cupcakes have a butterscotch cake (infused with cream soda and imitation butter flavor) that is filled with a butterscotch ganache, that is then topped with a butterscotch and butter flavored icing. Sound like a lot of flavor doesn't it?


      After making them, here are my thought on these cupcakes:
      • They are good but not great. Sorry to be a buzz-kill... (Although a few of our dinner guests loved them, so maybe it's just me...)
      • The ganache is delicous, but if you make it I would recommend starting off with less heavy cream than the recipe suggests (my ganach was a little too runny).
      • The icing was also delicious!
      • But the cake...it wasn't bad, but I think it could use some work. There was something about the texture of the cake that I didn't love, but it could possibly be fixed by leaving them in the oven a few minutes longer (The cupcakes were cooked through (a toothpick came out clean!), but they still just seemed almost under cooked in the middle somehow). They were also surprisingly lacking in flavor! In the end, it turned out to be ok because the ganache and icing had so much flavor and sweetness, that it balanced it out.

      If you would like to try these butterbeer cupcakes, here is the recipe I used: http://www.pastryaffair.com/blog/2011/7/14/butterbeer-cupcakes.html

      Happy baking!

       Here are some more pictures of my cupcakes, because I think they're cute!


      Friday, November 29, 2013

      Cronuts


      Ok, so by now it seems like everyone has heard of the heavenly combination of croissant and doughnut known as the cronut, but not everyone has has the chance to try one (including me). So when I found a recipe for this cronut thing I jumped at the idea of being able to make them myself! And they turned out to be just as wonderful as all of the hype made them out to be!

      The cronuts are not difficult to make, but plan ahead because the dough will take about 4 hours to prepare (to allow the dough to chill and rise). 

      To make this delightful creation you will need:
      • OIL, for frying
      Dough:
      • 3/4 cup MILK, warmed
      • 1 packet (2 & 1/4 tsp) ACTIVE DRY YEAST
      • 1/3 cup SUGAR
      • EGGS, large
      • 3 tsp VANILLA EXTRACT
      • 3 & 1/4 cups FLOUR
      • 1 tsp SALT
      Filling:
      • 2 sticks BUTTER, at room temperature
      • 1/4 cup FLOUR
      • 3 tsp VANILLA EXTRACT
      Buttermilk Vanilla Glaze:
      • 1 cup POWDERED SUGAR
      • 2 Tbs BUTTERMILK
      • 3 tsp VANILLA EXTRACT

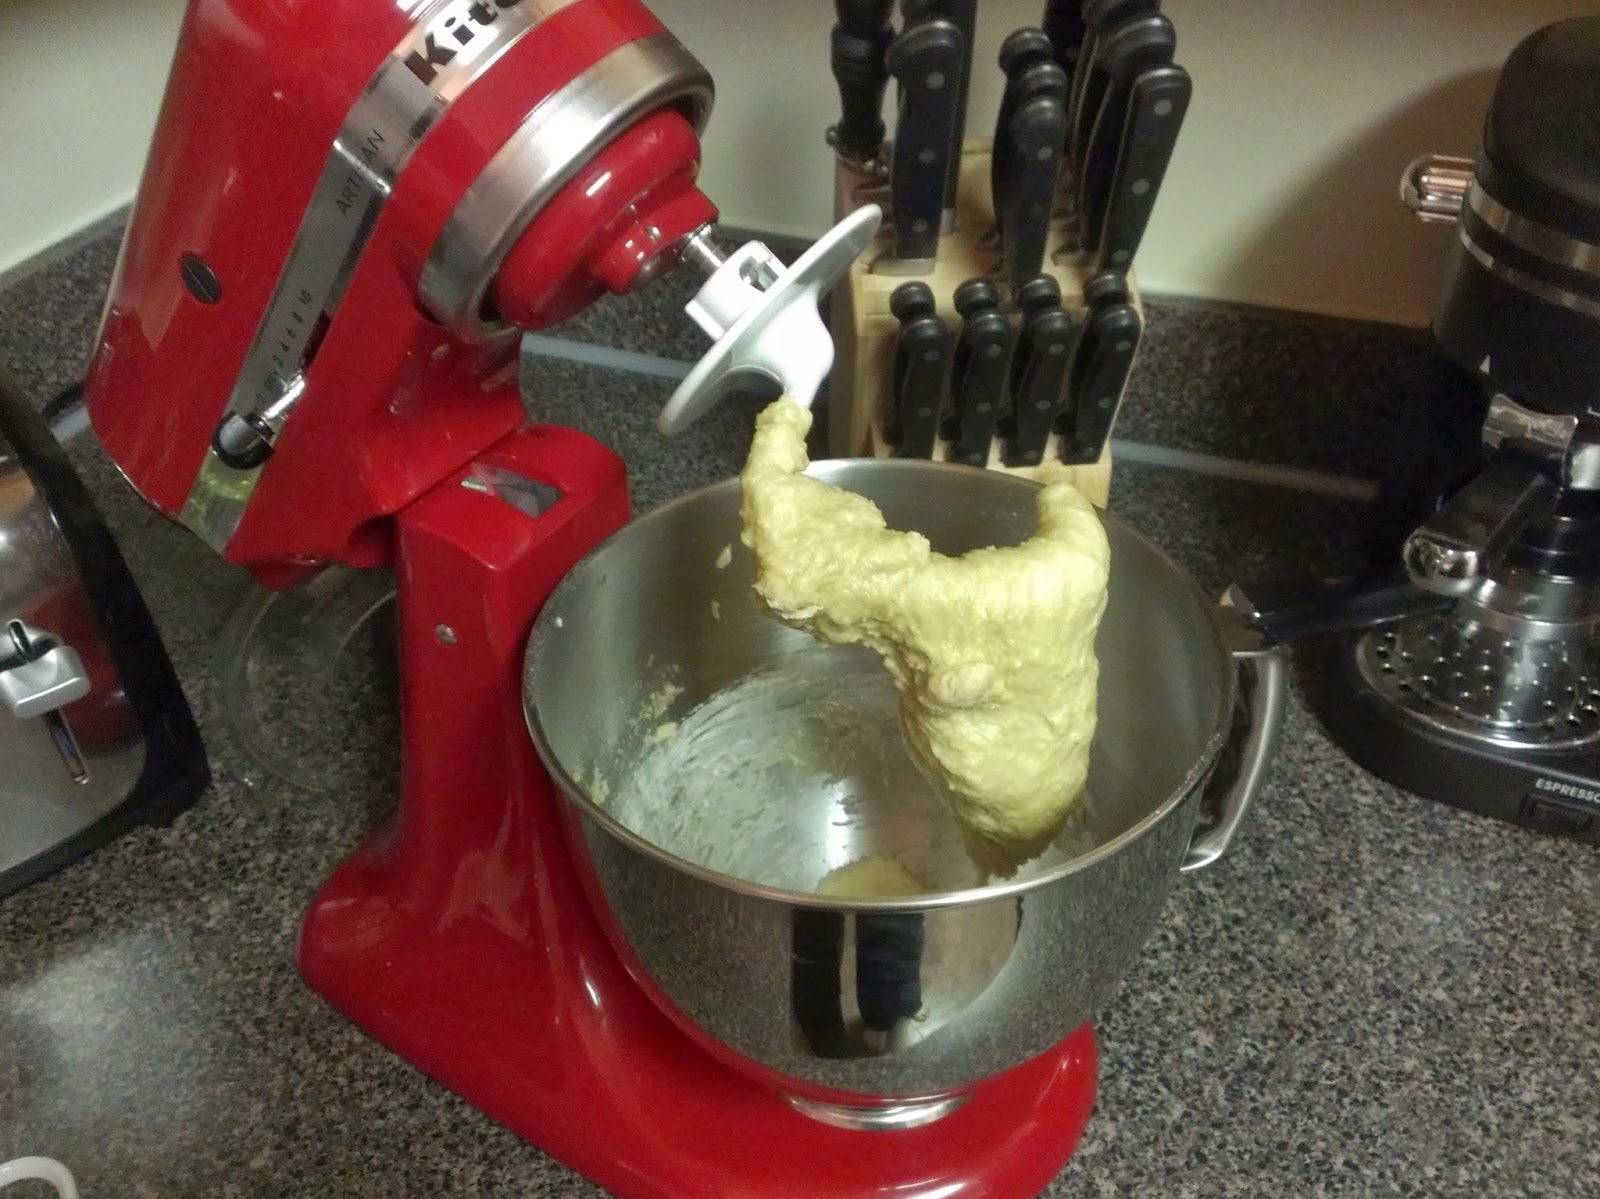
      Start off by mixing the warm milk and yeast in the bowl of an electric mixer (or just a large bowl). Then allow the mixture to sit in the bowl for 5 minutes. Next, mix in the sugar, eggs, and vanilla. Once well combined, add one cup of flour and the salt. After the contents are well mixed again, slowly add in another 2 & 1/4 cups of flour.

      Knead the dough for a few minutes until it is smooth and elastic. It will be pretty sticky at this point.


      Form the dough into a ball and wrap it in plastic wrap. Chill it in the refrigerator for 30 minutes.


      While the dough is chilling, mix the butter, vanilla, and remaining 1/4 cup flour until smooth.


      After the dough has chilled for 30 minutes, roll it out on a lightly floured surface and shape it into a rectangle that is roughly 12 inches by 18 inches. Then, using a spatula, spread the butter, flour, and vanilla mixture on top of the dough.


      Next, fold it into thirds (like you would fold a letter going into an envelope). Then cover with plastic wrap and refrigerate for 45 minutes.


      After 45 minutes, take the dough out of the fridge and lay it back on the floured surface with the open sides to the left and right. Then roll it back out into a larger rectangle (as seen in the picture below on the right). 


      After rolling it back out, fold it into thirds again. Fold the left third towards the middle and then the right third towards the middle (not top to bottom!). Then wrap it up in plastic wrap again and chill for another 45 minutes.


      Repeat this process of rolling the dough out, folding it into thirds, and refrigerating for 45 minutes, TWO more times! (You will do this a total of FOUR times!)


      By the last time, my dough started to take on a prettier, more uniform, rectangular shape. After you've finished all of the rolling, folding, and chilling, refrigerate the dough for a minimum of another hour to allow the dough to rise. You want the dough to be about 1 & 1/2 inches thick.


      Then use a doughnut cutter (or in my case a glass...


      ...and a shot glass) to cut out the cronuts. 


      I made a half batch so I only got 6 cronuts, but a full batch should make about 12. Make sure to keep the cronuts refrigerated until you are ready to fry them.


      Once you are ready to fry up the cronuts, heat a few inches of oil in a pot to about 350 degrees F. If you don't have a kitchen thermometer, test the oil with a piece of scrap dough to make sure it is at the right temperature (hot enough that the dough sizzles when dropped into the oil, but not so hot that it starts to burn before the inside is cooked).


      Once the dough is at the right temperature, drop the cronuts into the oil and cook until they are golden brown! They should look something like this!


      In a small bowl, make the glaze by whisking together the powdered sugar, buttermilk, and vanilla. Drizzle the glaze over the cronuts while are still warm!


      They are best served warm and fresh! Don't they look delicous?!?!


      Look at all of the flaky layers! YUM!!


      On the website where I found this recipe, there was a comment suggesting that you could bake the cronuts instead of frying them. They suggested baking them at 425 degrees F for about 15 minutes. I haven't tried this yet, but it sounds like a great idea!


      Cronuts
      Ingredients:
      • OIL, for frying
      Dough:
      • 3/4 cup MILK, warmed
      • 1 packet (2 & 1/4 tsp) ACTIVE DRY YEAST
      • 1/3 cup SUGAR
      • EGGS, large
      • 3 tsp VANILLA EXTRACT
      • 3 & 1/4 cups FLOUR
      • 1 tsp SALT
      Filling:
      • 2 sticks BUTTER, at room temperature
      • 1/4 cup FLOUR
      • 3 tsp VANILLA EXTRACT
      Buttermilk Vanilla Glaze:
      • 1 cup POWDERED SUGAR
      • 2 Tbs BUTTERMILK
      • 3 tsp VANILLA EXTRACT

          Directions:
          1. Start off by mixing the warm milk and yeast in the bowl of an electric mixer (or just a large bowl). Then allow the mixture to sit in the bowl for 5 minutes
          2. Next, mix in the sugar, eggs, and vanilla. Once well combined, add one cup of flour and the salt. After the contents are well mixed again, slowly add in another 2 & 1/4 cups of flour.
          3. Knead the dough for a few minutes until it is smooth and elastic. It will be pretty sticky at this point. Form the dough into a ball and wrap it in plastic wrap. Chill it in the refrigerator for 30 minutes.
          4. While the dough is chilling, mix the butter, vanilla, and remaining 1/4 cup flour until smooth. 
          5. After the dough has chilled for 30 minutes, roll it out on a lightly floured surface and shape it into a rectangle that is roughly 12 inches by 18 inches. Then, using a spatula, spread the butter, flour, and vanilla mixture on top of the dough.
          6. Next, fold it into thirds (like you would fold a letter going into an envelope). Then cover with plastic wrap and refrigerate for 45 minutes.
          7. After 45 minutes, take the dough out of the fridge and lay it back on the floured surface with the open sides to the left and right. Then roll it back out into a larger rectangle (as seen in the picture below on the right). 
          8. After rolling it back out, fold it into thirds again. Fold the left third towards the middle and then the right third towards the middle (not top to bottom!). Then wrap it up in plastic wrap again and chill for another 45 minutes.
          9. Repeat this process of rolling the dough out, folding it into thirds, and refrigerating for 45 minutes, TWO more times! (You will do this a total of FOUR times!)
          10. After you've finished all of the rolling, folding, and chilling, refrigerate the dough for a minimum of another hour to allow the dough to rise. You want the dough to be about 1 & 1/2 inches thick.
          11. Then use a doughnut cutter (or in my case a glass and a shot glass) to cut out the cronuts. I made a half batch so I only got 6 cronuts, but a full batch should make about 12. Make sure to keep the cronuts refrigerated until you are ready to fry them.
          12. Once you are ready to fry up the cronuts, heat a few inches of oil in a pot to about 350 degrees F. If you don't have a kitchen thermometer, test the oil with a piece of scrap dough to make sure it is at the right temperature (hot enough that the dough sizzles when dropped into the oil, but not so hot that it starts to burn before the inside is cooked).
          13. Once the dough is at the right temperature, drop the cronuts into the oil and cook until they are golden brown! 
          14. In a small bowl, make the glaze by whisking together the powdered sugar, buttermilk, and vanilla. Drizzle the glaze over the cronuts while are still warm!
          15. They are best served warm and fresh! 
          Side Note: On the website where I found this recipe, there was a comment suggesting that you could bake the cronuts instead of frying them. They suggested baking them at 425 degrees F for about 15 minutes. I haven't tried this yet, but it sounds like a great idea!


          I found this recipe on this blog: http://saltandsmokefood.com/buttermilk-vanilla-glazed-croissant-donuts/

          Wednesday, October 16, 2013

          Red Velvet Cake Taste Test!


          So last week I decided to have a little red velvet taste testing session. I compared three cake recipes and two icing recipes. This is what it did to my kitchen... and I cleaned as I went! :/


          One thing you definitely need with red velvet cake is plenty of red food coloring!


          The batters all turned out so pretty and bright!


          Ok, now to the point. The comparison! I cut three different recipe by four so I didn't have bazillions of cupcakes. 

                                                    Batter #1:                                 Batter 2:

          Batter 3:


          And here is how they cooked up!


          Ok, now onto the icings!

          The first one I tried was a flour icing and can be seen below....and I uhhh...didn't make it right and it was uhhh...pretty bad. I'll have to try that one again sometime and see if it turns out better...


          Next I made a vanilla icing with a vegetable shortening base and it was delicious! Definitely a keeper! Scroll down to the bottom of this post for the recipe!


          Cupcake #1:

          Cupcake #2:

          Cupcake #3:

          After they were all iced, it was time for the taste test! The best part!


          After tasting all of them this is what I decided:

          Cupcake 1: Very moist! Maybe too moist for a cupcake because it was hard to get out of the paper, but would be perfect for a cake. Also had great flavor! It didn't fluff up very much though.

          Cupcake 2: A little dry. Easy to get out of the paper. Didn't rise very much. Overall, not great...

          Cupcake 3: Beautiful, rose nicely. Came out of the paper easily.  Great texture. (And just so happen to be my mom's recipe! I guess mother really does know best!) Could use a little bit of a flavor boost compared to cupcake 1 though...sorry mom!

          What I decided was that I basically want to cross the 1st and 3rd cupcake to get the flavor and moistness of the 1st, but the texture and looks from the 3rd. I also decided that chocolate cake is better than red velvet cake. Sorry, I know this is supposed to be about red velvet cake, but I like my chocolate cake better!