Sunday, August 10, 2014

Beef Stew


This stew was one of the first recipes that I ever made by myself (other than scrambled eggs and boxed cakes). I based it on a recipe I found online and then adapted it for what I had in my pantry. I have now made this stew many times and it is one of my favorite winter meals. The stew is warm, hearty, and rich in flavor! 

To make 2-3 serving of this beef stew you will need:
  • 2 Tbs VEGETABLE OIL
  • 1 lb. BEEF STEW MEAT (could also use chuck roast and cut it into 1 inch cubes)
  • 1 ONION, chopped 
  • 3 GARLIC cloves, minced
  • 1 Tbs TOMATO PASTE
  • 3 cups BEEF STOCK
  • 2 BAY LEAVES
  • 1/2 tsp SUGAR
  • 1/4 tsp PEPPER
  • 1/4 tsp ALLSPICE
  • 1/4 tsp PAPRIKA
  • 1 Tbs WORCESTERSHIRE SAUCE
  • 3-4 CARROTS, chopped
  • 1 lb. POTATOES, peeled and cubed 
  • 1-2 cups WATER

Pour the vegetable oil into a large pot over medium-high heat. Once the oil is hot, brown the beef in the oil. 


When the beef is browned, but not necessarily cooked through (it will continue to cook throughout the rest of the preparation) stir in the onion, garlic, and tomato paste.


Next, stir in the beef stock, bay leaves, sugar, pepper, allspice, paprika, and Worcestershire sauce. Cover and allow the stew to simmer for about 1 & 1/2 hours.


Add the carrots and potatoes. If the liquid does not mostly cover the meat and vegetables, add 1-2 cups of water. Then simmer for another 30 minutes.

(Not enough liquid!)
(Perfect!)
Once the carrots and potatoes are tender, taste the broth and season as needed. Remove the bay leaves and serve! 


The beef tastes tender and juicy while to potatoes are soft and flavorful! This is a great comfort dish!


I am already looking forward to making this again!


Beef Stew
Ingredients:
  • 2 Tbs VEGETABLE OIL
  • 1 lb. BEEF STEW MEAT (could also use chuck roast and cut it into 1 inch cubes)
  • ONION, chopped 
  • GARLIC cloves, minced
  • 1 Tbs TOMATO PASTE
  • 3 cups BEEF STOCK
  • BAY LEAVES
  • 1/2 tsp SUGAR
  • 1/4 tsp PEPPER
  • 1/4 tsp ALLSPICE
  • 1/4 tsp PAPRIKA
  • 1 Tbs WORCESTERSHIRE SAUCE
  • 3-4 CARROTS, chopped
  • 1 lb. POTATOES, peeled and cubed 
  • 1-2 cups WATER
Directions:
  1. Pour the vegetable oil into a large pot over medium-high heat. Once the oil is hot, brown the beef in the oil. 
  2. When the beef is browned, but not necessarily cooked through (it will continue to cook throughout the rest of the preparation) stir in the onion, garlic, and tomato paste.
  3. Next, stir in the beef stock, bay leaves, sugar, pepper, allspice, paprika, and Worcestershire sauce. Cover and allow the stew to simmer for about 1 & 1/2 hours.
  4. Add the carrots and potatoes. If the liquid does not mostly cover the meat and vegetables, add 1-2 cups of water. Then simmer for another 30 minutes.
  5. Once the carrots and potatoes are tender, taste the broth and season as needed. Remove the bay leaves and serve! 


    The recipe I based this one on was Paula's: http://www.foodnetwork.com/recipes/paula-deen/old-time-beef-stew-recipe/index.html

    Sunday, July 27, 2014

    Orange Chicken


    Ok guys, I'm really excited about this one. This is probably one of the best dishes that I've ever made! Yeah, it's that good. This orange chicken reminds me of the orange chicken at Panda Express, except it's better because it's fresh and you know where all of the ingredients came from!

    To make roughly 2 servings of this orange chicken you will need:

    • 2 Tbs & 1 tsp CORNSTARCH
    • EGG WHITES
    • CHICKEN BREAST (roughly 10-12 oz.), cut into small chunks
    • 1/2 cup ORANGE JUICE
    • 1 Tbs SOY SAUCE
    • 1 Tbs BROWN SUGAR, packed
    • 1 Tbs RICE VINEGAR
    • 1/4 tsp SESAME OIL
    • Pinch of RED PEPPER FLAKES (you can always add more if you like spicy food!)
    • 1 clove of GARLIC, minced
    • About 1/2 inch of freshly grated GINGER
    • VEGETABLE or PEANUT OIL, for frying
    • Optional: 2 GREEN ONIONS, to top


    Start off by whisking up the egg whites with 2 tablespoons of cornstarch using a fork in a medium sized bowl until it begins to get frothy. 


    Add the chicken pieces and allow to sit for 5 to 10 minutes


    While you are waiting on the chicken start heating about 2 inches of oil to 350 degrees F in a pot


    Then mix the orange juice, soy sauce, brown sugar, rice wine vinegar, sesame oil, salt, crushed red pepper, garlic, and ginger in a nonstick skillet.


    Heat the sauce on the stove for about 5 minutes over medium heat until it starts to thicken. While the sauce is thickening up, whisk together 1/4 cup of cool water with the remaining teaspoon of cornstarch. After the sauce has been heating for 5 minutes, turn off the stove and mix in 1 to 2 teaspoons of the cornstarch slurry. Stir for about 1 minute to further thicken the sauce. Then set aside.


    Once the oil reaches 350 degrees F, use a pair of tongs to gently place each piece of chicken into the oil individually. If you try to add more than one piece of chicken at a time the chunks will stick together and you will have clumps of chicken pieces rather than individual pieces. Cook the chicken in the oil for 3-4 minutes.


    Once cooked, take the chicken out of the oil and place it onto a paper towel to drain and cool for a few minutes.


    Then, drop the chicken back into the oil for another minute to get it extra crispy! 


    Remove from the oil and allow to drain on a new paper towel.


    Lastly, toss the chicken in the sauce and give it a taste! (You're welcome!)


    Serve the chicken over some noodles or rice and top with green onions! 


    Writing up this post makes me want to go make it again! It was so good! I hope you enjoy!


    Orange Chicken
    Ingredients:
    • 2 Tbs & 1 tsp CORNSTARCH
    • EGG WHITES
    • CHICKEN BREAST (roughly 10-12 oz.), cut into small chunks
    • 1/2 cup ORANGE JUICE
    • 1 Tbs SOY SAUCE
    • 1 Tbs BROWN SUGAR, packed
    • 1 Tbs RICE VINEGAR
    • 1/4 tsp SESAME OIL
    • Pinch of RED PEPPER FLAKES (you can always add more if you like spicy food!)
    • 1 clove of GARLIC, minced
    • About 1/2 inch of freshly grated GINGER
    • VEGETABLE or PEANUT OIL, for frying
    • Optional: 2 GREEN ONIONS, to top
    Directions:
    1. Whisk up the egg whites with 2 tablespoons of cornstarch using a fork in a medium sized bowl until it begins to get frothy. 
    2. Add the chicken pieces and allow to sit for 5 to 10 minutes
    3. While you are waiting on the chicken, start heating about 2 inches of oil to 350 degrees F in a pot
    4. Mix the orange juice, soy sauce, brown sugar, rice wine vinegar, sesame oil, salt, crushed red pepper, garlic, and ginger in a nonstick skillet
    5. Heat the sauce on the stove for about 5 minutes over medium heat until it starts to thicken. While the sauce is thickening up, whisk together 1/4 cup of cool water with the remaining teaspoon of cornstarch. After the sauce has been heating for 5 minutes, turn off the stove and mix in 1 to 2 teaspoons of the cornstarch slurry. Stir for about 1 minute to further thicken the sauce. Then set aside.
    6. Once the oil reaches 350 degrees F, use a pair of tongs to gently place each piece of chicken into the oil individually. If you try to add more than one piece of chicken at a time the chunks will stick together and you will have clumps of chicken pieces rather than individual pieces. Cook the chicken in the oil for 3-4 minutes
    7. Once cooked, take the chicken out of the oil and place it onto a paper towel to drain and cool for a few minutes
    8. Then, drop the chicken back into the oil for another minute to get it extra crispy! Then, remove the chicken from the oil and allow to drain on a new paper towel. 
    9. Lastly, toss the chicken in the sauce and give it a taste!
    10. Serve the chicken over some noodles or rice and top with green onions! 


      I got this recipe from the following website: http://www.foodnetwork.com/recipes/ree-drummond/orange-chicken.html

      Wednesday, July 9, 2014

      Spaghetti Squash Primavera


      Last month my husband and I were watching an episode of Guy Fieri's Diners, Drive-Ins, and Dives and we found this recipe. Imagine a bunch of sauteed vegetables covered in a delicious marinara sauce, and then topped with melted mozzarella cheese. It doesn't have any meat in it, but trust me, you won't miss it!

      This makes enough food to fill both halves of the spaghetti squash (which is enough for me to eat for about 4 meals, so it's probably 3-4 servings depending on how hungry you are):
      • SPAGHETTI SQUASH
      • RED BELL PEPPER, diced
      • 1/2 RED ONION, diced
      • 3 cloves of GARLIC, minced
      • 2 stalks of CELERY, sliced
      • CARROTS, sliced
      • ZUCCHINI, diced
      • 1 small head of BROCCOLI
      • 1 Tbs OLIVE OIL
      • 2 cups MARINARA SAUCE (I used the sauce that I make for spaghetti & meatballs, but a store bought jar would also work!)
      • SALT, to taste
      • PEPPER, to taste
      • 1 ball of fresh MOZZARELLA CHEESE (shredded mozzarella would also work)

      Start off by cutting the spaghetti squash in half long-wise. Be careful because the skin of the squash is really tough. Put the squash halves into a pot of boiling water and cook for 10 minutes.

      Preheat your oven to 350 degrees F.


      While the squash is cooking, dice up the bell pepper, red onion, garlic, celery, carrots, zucchini, and broccoli. 


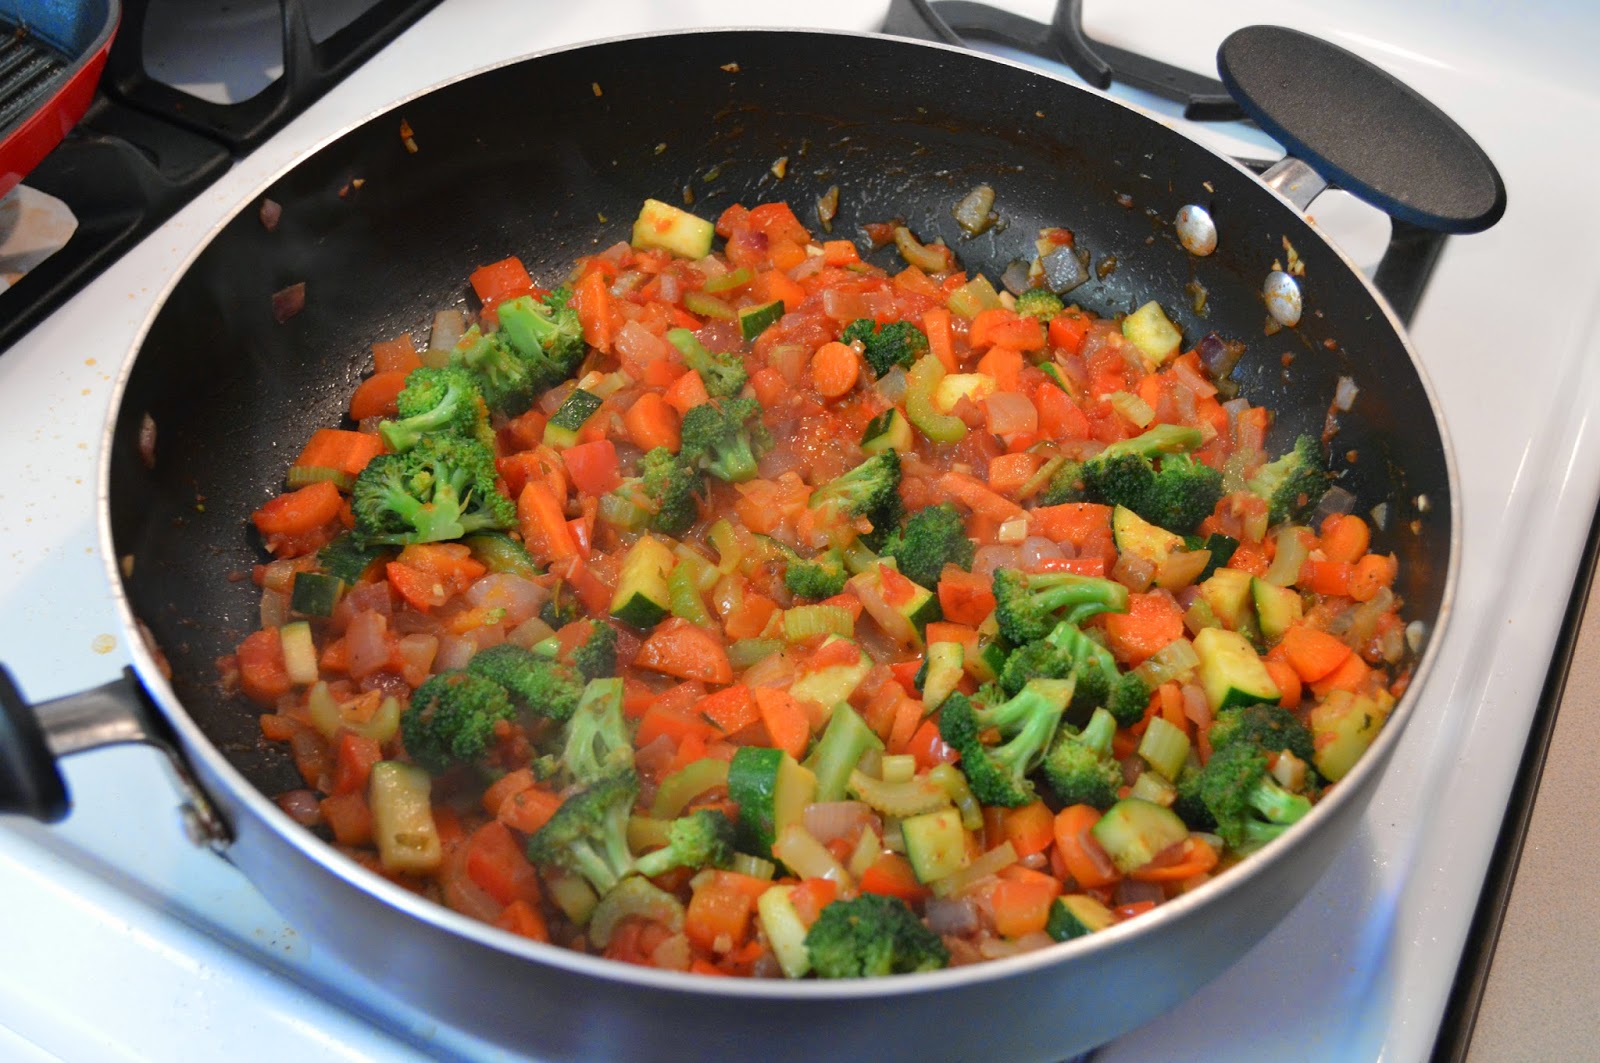
      Next, start sauteing the vegetables in a large skillet. Heat the olive oil in the skillet and then add the bell pepper. Once that starts to heat up, add the onion and  garlic. When that is also warmed up add the celery and carrots. Adding the vegetables a little bit at a time will keep the pan hot and the cooking consistent. 


      Once all of the vegetables are turning translucent and getting tender, add the broccoli and zucchini. You want to add them last because they cook faster than the other veggies and you don't want them to get mushy. 


      By now the spaghetti squash should be done cooking. Scoop out the seeds and discard them. Then take a fork and scrape the stringy, spaghetti-like squash out. Set aside in a small bowl


      Once all of the vegetables are tender but not mushy, stir in about 1 to 1 & 1/2 cups of your marinara sauce


      Once the sauce has gotten hot, add the spaghetti squash.


      At this point you might want to add a little more sauce, but make sure that you still have about 1/2 cup left to put on top. Add a pinch of salt and pepper. (You may want to add more depending on how much salt is already in your marinara sauce.)


      Once you are happy with your vegetable and sauce mixture, scoop it into the 2 halves of the spaghetti squash shell. 


      Vualá!


      Next, place the filled halves of the squash on a cookie sheet and and lay 2 slices of the fresh mozzarella on each squash half. 


      Put the cookie sheet with the squash in the oven and bake for 10 minutes to get the mozzarella nice and melted.


      When the squash comes out of the oven, top the halves with the remaining marinara sauce and serve!


      Look out gooey and wonderful the cheese was after baking in the oven!


      We will definitely be making this again soon!


      Spaghetti Squash Primavera

      Ingredients:
      • SPAGHETTI SQUASH
      • RED BELL PEPPER, diced
      • 1/2 RED ONION, diced
      • 3 cloves of GARLIC, minced
      • 2 stalks of CELERY, sliced
      • CARROTS, sliced
      • ZUCCHINI, diced
      • 1 small head of BROCCOLI
      • 1 Tbs OLIVE OIL
      • 2 cups MARINARA SAUCE (I used the sauce that I make for spaghetti & meatballs, but a store bought jar would also work!)
      • SALT, to taste
      • PEPPER, to taste
      • 1 ball of fresh MOZZARELLA CHEESE (shredded mozzarella would also work)
          Directions:
          1. Start off by cutting the spaghetti squash in half long-wise. Be careful because the skin of the squash is really tough. Put the squash halves into a pot of boiling water and cook for 10 minutes.
          2. Preheat your oven to 350 degrees F.
          3. While the squash is cooking, dice up the bell pepper, red onion, garlic, celery, carrots, zucchini, and broccoli. 
          4. Next, start sauteing the vegetables in a large skillet. Heat the olive oil in the skillet and then add the bell pepper. Once that starts to heat up, add the onion and  garlic. When that is also warmed up add the celery and carrots. Adding the vegetables a little bit at a time will keep the pan hot and the cooking consistent. 
          5. Once all of the vegetables are turning translucent and getting tender, add the broccoli and zucchini. You want to add them last because they cook faster than the other veggies and you don't want them to get mushy. 
          6. By now the spaghetti squash should be done cooking. Scoop out the seeds and discard them. Then take a fork and scrape the stringy, spaghetti-like squash out. Set aside in a small bowl
          7. Once all of the vegetables are tender but not mushy, stir in about 1 to 1 & 1/2 cups of your marinara sauce. 
          8. When the sauce has gotten hot, add the spaghetti squash.
          9. At this point you might want to add a little more sauce, but make sure that you still have about 1/2 cup left to put on top. Add a pinch of salt and pepper. (You may want to add more depending on how much salt is already in your marinara sauce.)
          10. Once you are happy with your vegetable and sauce mixture, scoop it into the 2 halves of the spaghetti squash shell. 
          11. Next, place the filled halves of the squash on a cookie sheet and and lay 2 slices of the fresh mozzarella on each squash half. 
          12. Put the cookie sheet with the squash in the oven and bake for 10 minutes to get the mozzarella nice and melted.
          13. When the squash comes out of the oven, top the halves with the remaining marinara sauce and serve!


                http://media.wix.com/ugd/60b189_879cce613030aede7fa7a8e1e75cd9bb.pdf?dn=spaghetti_squash_pitstop.pdf

                Sunday, July 6, 2014

                Soy Grilled Mahi-Mahi


                My husband bought a grill a few weeks ago and since then we have been trying to use it as much as we can. Last week we decide to make some mahi-mahi for the first time and I have to say, it turned out pretty darn well! I had never had mahi-mahi before, so I wasn't really sure what to expect, but it turned out delicious! Mahi-mahi has a fairly mild fish flavor so it takes on the flavors that you season it with really well. We decided to go in an Asian direction and were both very pleased with the results!  

                To make 2 servings of this delicious soy grilled mahi-mahi you will need: 
                • 2, 6oz. MAHI MAHI FILETS (I think salmon would also be good!)
                • 1/4 cup SOY SAUCE
                • 1 & 1/2 Tbs RICE VINEGAR
                • 1 Tbs SESAME OIL
                • 2 Tbs GRANULATED SUGAR or BROWN SUGAR
                • 1 tsp GARLIC POWDER
                • 1/8 tsp CAYENNE PEPPER
                • 1 GREEN ONION, sliced

                Mix the soy sauce, rice vinegar, sesame oil, sugar, garlic powder, cayenne pepper, and half of the green onion in a medium sized bowl.


                Next, add the mahi-mahi into the mixture and allow the fish to marinate at room temperature for about 15 minutes


                While the fish is marinating get your grill ready. Heat the grill to medium-high heat. (You should only be able to hold your hand close to the grill for about 2-3 seconds.) If you don't have a grill, you could cook it on the stove just as easily. 

                Once the grill is ready and the fish has been marinating for at least 15 minutes,  put the fillets on the grill top side down. Let the fillet cook for 2-3 minutes and then rotate it 45 degrees. Cook the fillet for 2-3 minutes in this position (if you have a seasoned grill this will give you criss-cross marks). Next, turn the fillets over and cook another 3-4 minutes. Overall, the fish should be on the grill for about 8-10 minutes


                While the fish is on the grill, heat the marinade in a small pot on the stove. Simmer the marinade for a few minutes on the stove and then serve it as a dipping sauce alongside the fillets. Top with the rest of the sliced green onions.


                Soy Grilled Mahi-Mahi

                Ingredients:
                • 2, 6oz. MAHI MAHI FILETS (I think salmon would also be good!)
                • 1/4 cup SOY SAUCE
                • 1 & 1/2 Tbs RICE VINEGAR
                • 1 Tbs SESAME OIL
                • 2 Tbs GRANULATED SUGAR or BROWN SUGAR
                • 1 tsp GARLIC POWDER
                • 1/8 tsp CAYENNE PEPPER
                • GREEN ONION, sliced
                    Directions:
                    1. Mix the soy sauce, rice vinegar, sesame oil, sugar, garlic powder, cayenne pepper, and half of the green onion in a medium sized bowl.
                    2. Next, add the mahi-mahi fillets into the mixture and allow the fish to marinate at room temperature for about 15 minutes
                    3. While the fish is marinating get your grill ready. Heat the grill to medium-high heat. (You should only be able to hold your hand close to the grill for about 2-3 seconds.) If you don't have a grill, you could cook it on the stove just as easily. 
                    4. Once the grill is ready and the fish has been marinating for at least 15 minutes,  put the fillets on the grill top side down. Let the fillet cook for 2-3 minutes and then rotate it 45 degrees. Cook the fillet for 2-3 minutes in this position (if you have a seasoned grill this will give you criss-cross marks). Next, turn the fillets over and cook another 3-4 minutes. Overall, the fish should be on the grill for about 8-10 minutes
                    5. While the fish is on the grill, heat the marinade in a small pot on the stove. Simmer the marinade for a few minutes and then serve it as a dipping sauce alongside the fillets. Top with the rest of the sliced green onions.


                          I found the recipe on the following website: http://www.kalynskitchen.com/2007/06/soy-grilled-mahi-mahi-recipe-with.html

                          Thursday, June 19, 2014

                          Egg Drop Soup


                          One of my favorite things to get at Chinese restaurants is egg drop soup. I have always wondered how the soup was made but never knew how until recently. It actually turned out to be pretty easy!
                          To make 2 bowls of soup you will need:
                          • 2 cups CHICKEN BROTH
                          • 1/2 tablespoon CORNSTARCH
                          • EGGS
                          • GREEN ONION, chopped
                          • SALT & PEPPER to taste
                          • Optional: a few drops of SESAME OIL


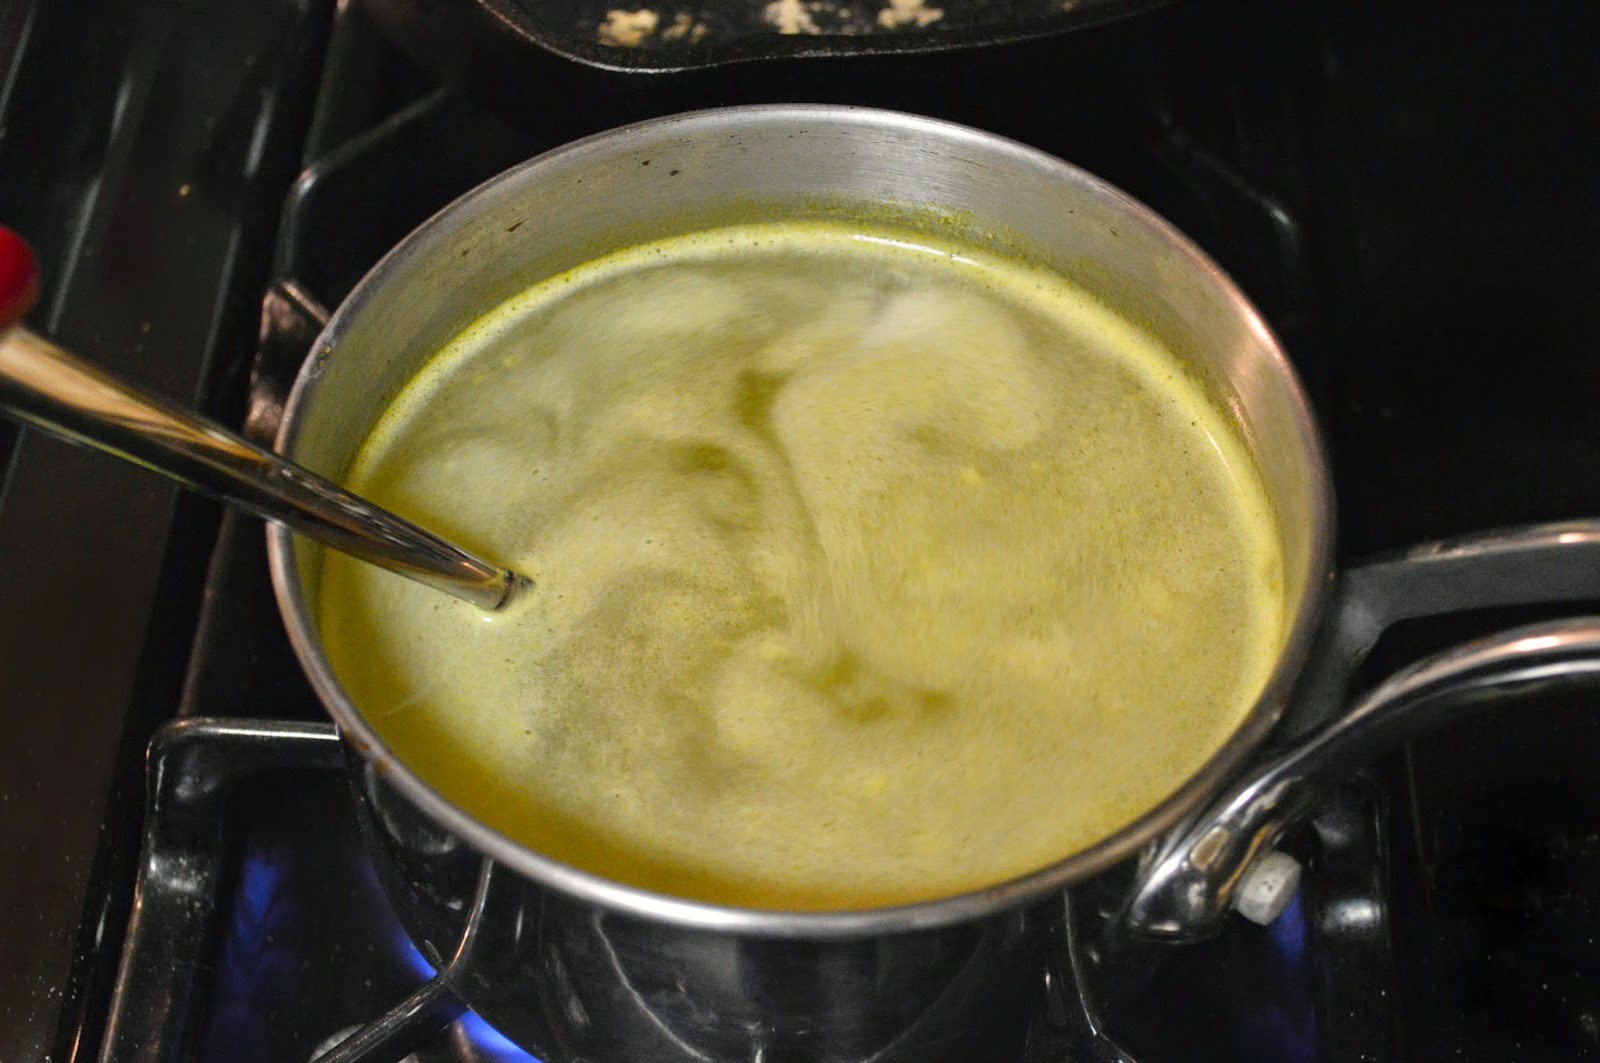
                          Whisk the chicken broth and corn starch together in a small pot. (Make sure that the chicken broth is either cool or at room temperature for this step. If the broth is hot the cornstarch will clump!) Then start heating the mixture on the stove.


                          Whisk your eggs in a small bowl like you are making scrambled eggs. 


                          Once the chicken broth reaches a boil, use a spoon to stir the broth so that you get a vortex. Slowly drizzle the egg into the broth while continuing to stir the broth with your other hand. (If you aren't very coordinated, you may want to recruit a friend to help with this step.) The egg will cook immediately and should look like thin wisps in the broth.


                          Once all of the egg has been added, stir in the salt, pepper, and sesame oil. Sprinkle the chopped green onions on top and enjoy!


                          Egg Drop Soup

                          Ingredients:
                          To make 2 bowls of soup you will need:
                          • 2 cups CHICKEN BROTH
                          • 1/2 tablespoon CORNSTARCH
                          • EGGS
                          • GREEN ONION
                          • SALT & PEPPER to taste
                          • Optional: a few drops of SESAME OIL

                            Directions:
                            1. Whisk the chicken broth and corn starch together in a small pot. (Make sure that the chicken broth is either cool or at room temperature for this step. If the broth is hot the cornstarch will clump!) Then start heating the mixture on the stove
                            2. Whisk your eggs in a small bowl like you are making scrambled eggs. 
                            3. Once the chicken broth reaches a boil, use a spoon to stir the broth so that you get a vortex. Slowly drizzle the egg into the broth while continuing to stir the broth with your other hand. (If you aren't very coordinated, you may want to recruit a friend to help with this step.) The egg will cook immediately and should look like thin wisps in the broth. 
                            4. Once all of the egg has been added, stir in the salt, pepper, and sesame oil. Sprinkle the chopped green onions on top and enjoy!