My family loves to go to Famous Dave's and get some good BBQ. Along with having great BBQ Famous Dave's also has delicious corn muffins! They are sweet, fluffy, and cakey! I made a few small changes to a recipe that I found on a blog (the blog's website is posted at the bottom of this post) and they turned out very close to the muffins Famous Dave's makes!
To make about 16 corn muffins you will need:
- 1 & 3/4 cup CORNMEAL
- 1 & 1/2 cup FLOUR
- 2 tsp BAKING POWDER
- 1/4 tsp BAKING SODA
- 3/4 tsp SALT
- 2 EGGS
- 3/4 cup SUGAR
- 1/4 cup VEGETABLE SHORTENING
- 1/2 tsp VANILLA EXTRACT
- 1 cup MILK (I used 1%)
- 1/4 tsp LEMON JUICE
- 1/3 cup VEGETABLE OIL
- 4 Tbs HONEY
- BUTTER, to spread on the muffins after baking
Preheat your oven to
400 degrees F. Then in a
medium sized bowl whisk together the cornmeal, flour, baking powder, baking soda, and salt.
In another
bowl, or the
bowl of a stand mixer, cream together the eggs, sugar, vegetable shortening, and vanilla. Once the ingredients are well combined add the dry ingredients into the wet ingredients and continue to mix. It should have a course meal texture and look like the picture below.
Then mix in the milk, lemon juice, oil, and honey. This should make it more like a batter.
Line your
muffin pan with
paper liners and fill the liners about 3/4 the way full with batter. I didn't have any liners on hand when I made them so I skipped that part. I recommend using the liners though, my corn muffins got dark around the outside edges when I baked them.
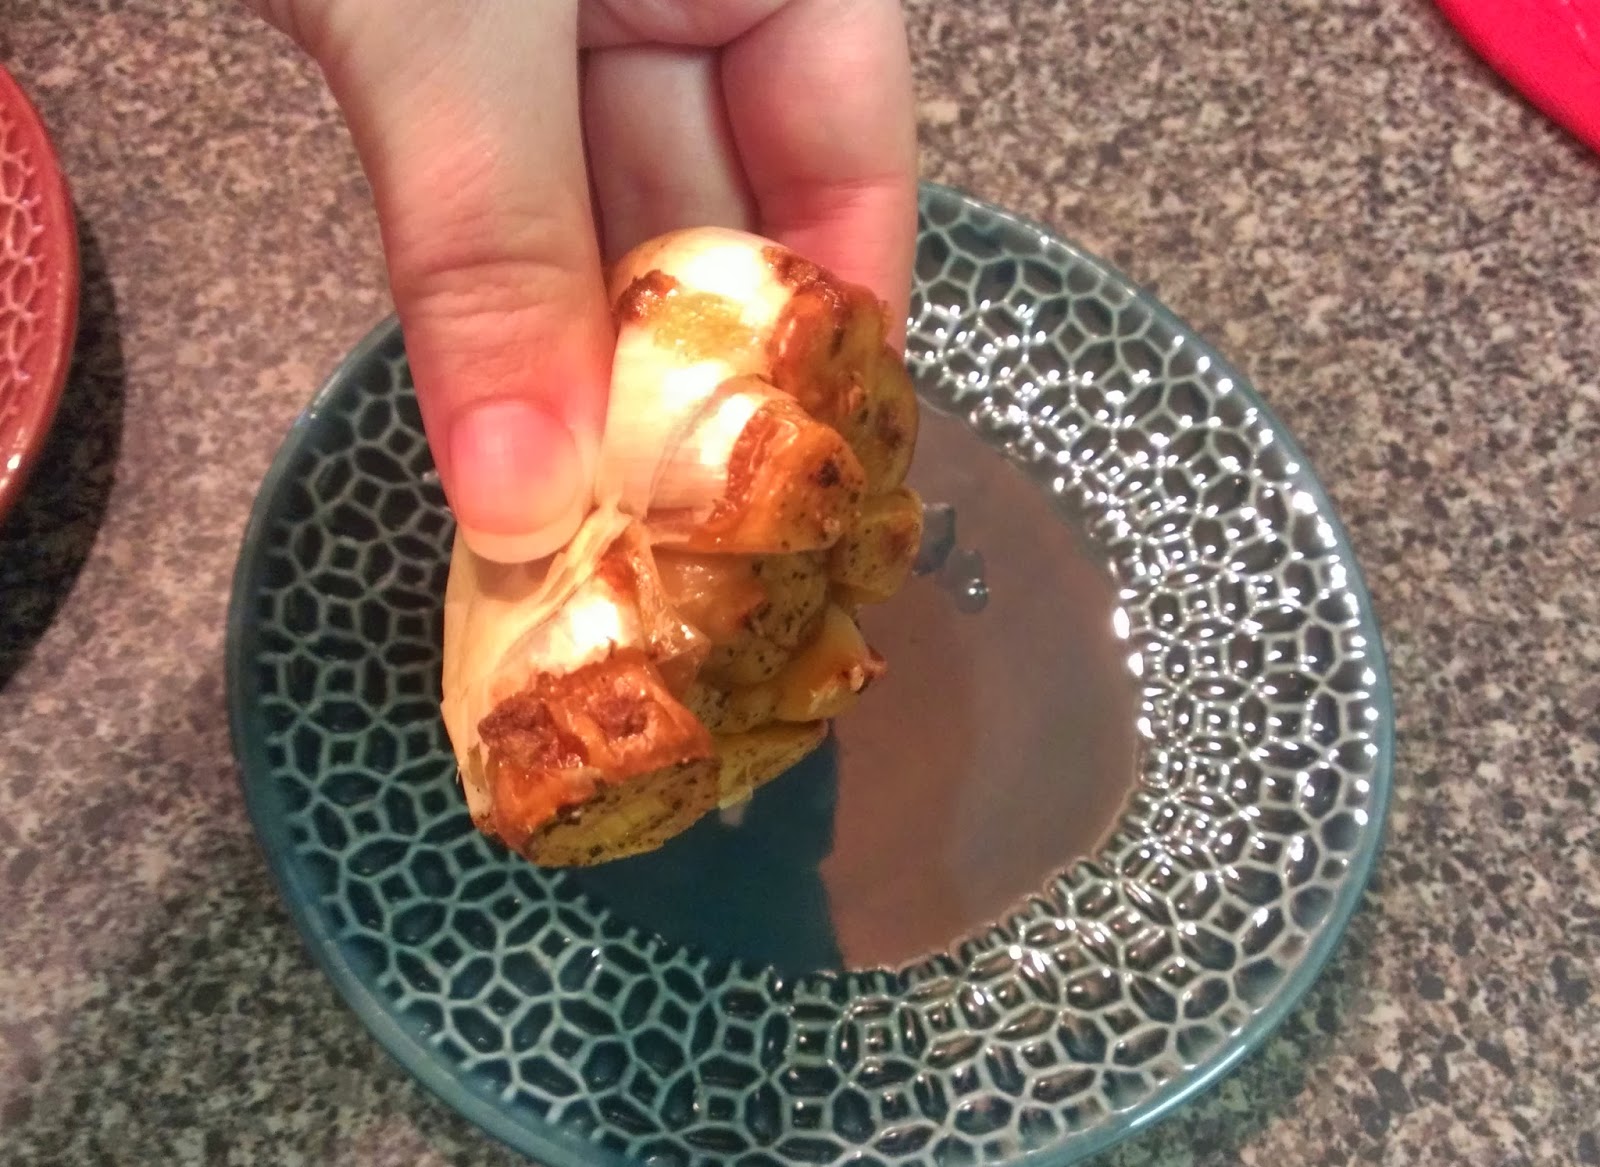
Bake the corn muffins for
13-16 minutes. After the muffins have baked and are still hot, rub some butter over the top of the muffins! Then eat them!
Yum!
I know the edges are dark, but they still tasted good. Only the very outside of the muffin was slightly overcooked. Use paper liners to prevent the outside of the muffin overcooking!
Famous Dave's Corn Muffins
Ingredients:
- 1 & 3/4 cup CORNMEAL
- 1 & 1/2 cup FLOUR
- 2 tsp BAKING POWDER
- 1/4 tsp BAKING SODA
- 3/4 tsp SALT
- 2 EGGS
- 3/4 cup SUGAR
- 1/4 cup VEGETABLE SHORTENING
- 1/2 tsp VANILLA EXTRACT
- 1 cup MILK (I used 1%)
- 1/4 tsp LEMON JUICE
- 1/3 cup VEGETABLE OIL
- 4 Tbs HONEY
- BUTTER, to spread on the muffins after baking
Directions:
- Preheat your oven to 400 degrees F. Then in a medium sized bowl whisk together the cornmeal, flour, baking powder, baking soda, and salt.
- In another bowl, or the bowl of a stand mixer, cream together the eggs, sugar, vegetable shortening, and vanilla. Once the ingredients are well combined add the dry ingredients into the wet ingredients and continue to mix. It should have a course meal texture.
- Then mix in the milk, lemon juice, oil, and honey.
- Line your muffin pan with paper liners and fill the liners to about 3/4 the way full with batter.
- Bake the corn muffins for 13-16 minutes. After the muffins have baked and are still hot, rub some butter over the top of the muffin! Then eat them!
I found this recipe from the following website:
http://www.eatcakefordinner.net/2011/11/famous-daves-cornbread-muffins-copycat.html