This is a wonderful soup to make in the fall. The butternut squash is in season and everyone has gourds on the brain. (I'm looking at you, pumpkin spice latte lovers.) The combination of the squash and the gruyere cheese gives the soup a sweet, nutty flavor and the red pepper flakes give it a slight kick. The spicy chickpea topping provides the perfect crunch to pair with the rich and creamy texture of the soup. It is just good for the soul!
To make 3-4 servings of this delicious soup you will need:
- 2 Tbs OLIVE OIL
- 2 Tbs BUTTER, unsalted
- 1 ONION, diced
- 3 cloves of GARLIC, minced
- 4 cups (roughly 24 oz.) BUTTERNUT SQUASH, cubed
- 1 pinch RED PEPPER FLAKES
- 1/2 tsp SALT
- 1/2 tsp PEPPER
- 1/4 tsp SMOKED PAPRIKA
- 1/8 tsp NUTMEG
- 2 cups CHICKEN or VEGETABLE STOCK, low sodium
- 6 oz. GRUYERE CHEESE, grated
- 1/2 cup full-fat COCONUT MILK (you could also use HALF & HALF)
- chopped CHIVES, to garnish
To make the spicy chickpea topping you will need:
- 1 (15.5 oz.) can of CHICKPEAS, drained & rinsed
- 1/2 Tbs OLIVE OIL
- 1/4 tsp SALT
- 1/4 tsp PEPPER
- 1/4 tsp SMOKED PAPRIKA
- 1/4 tsp CAYENNE PEPPER
Start off by preheating the oven to 425 degrees F, then get the chickpeas ready to bake. Toss the chickpeas in the olive oil, salt, pepper, smoked paprika, and cayenne pepper. Once the chickpeas are coated in the oil and spices spread them out on a cookie sheet (I put a piece of foil down to make for easy cleanup). Bake the chickpeas for 20 minutes, toss them, and then bake them for another 15-20 minutes so they get nice and crunchy (but not burnt)!


While the chickpeas are baking, start peeling and chopping the onion, garlic, and butternut squash.

To start the soup, melt the butter into the olive oil in a large pot. Then add the diced onion and saute the onion until it just starts to soften and turn translucent. Add the garlic next and cook for another few minutes.

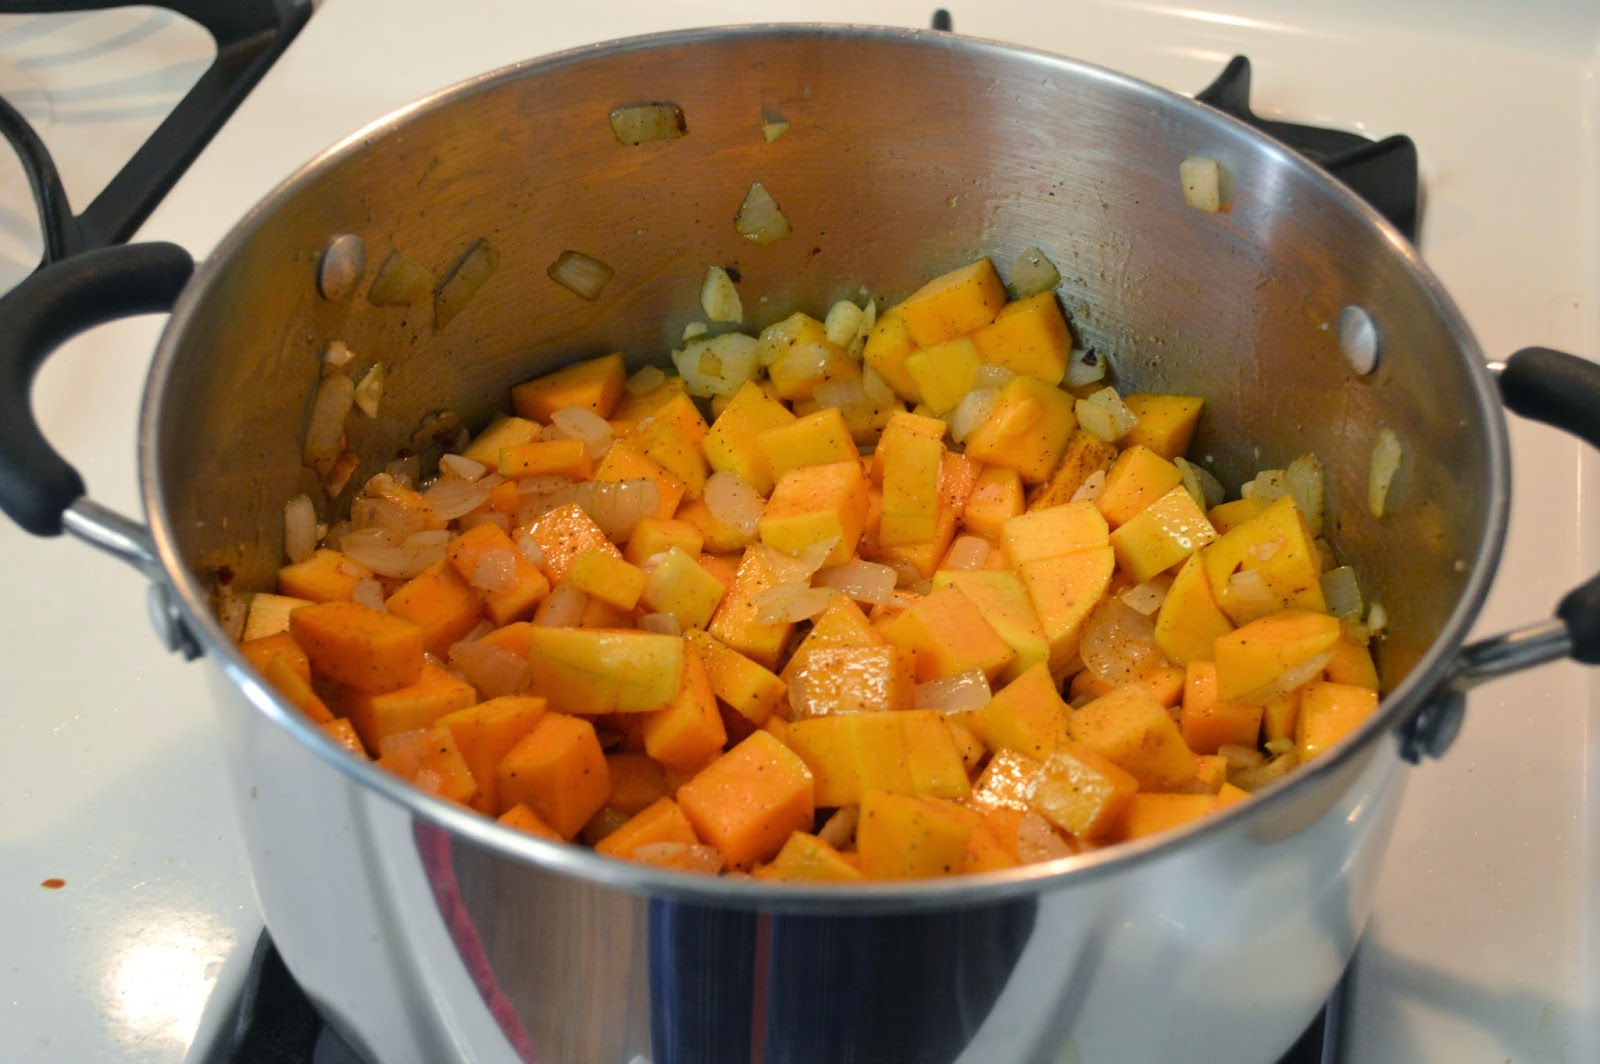
Stir in the cubed squash, red pepper flakes, salt, pepper, smoked paprika, and nutmeg. Cover the pot and cook for 6-8 minutes, stirring occasionally, until the squash has softened a bit.
Add the chicken stock, cover the pot again, and cook until the squash is completely tender, roughly 15-20 minutes.

Once the squash is tender, use a blender to puree the soup until smooth. (An immersion blender would be perfect for this, but I just used my Ninja.)
Note: Be careful when using a normal blender to puree the soup. If the soup is too hot, the steam may create pressure and cause the top to pop off of the blender while blending.

Transfer the soup back into the large pot and heat the soup over medium heat for another 5-10 minutes. Next, stir in the cheese a handful at a time until it fully melts into the soup. Then, stir in the coconut milk. Heat the soup for a few more minutes to make sure it is nice and hot and then serve!

Ladle the soup into a bowl, top with the spicy chickpeas, sprinkle on the chopped chives, and then put few drops of coconut milk on top!

While the chickpeas are baking, start peeling and chopping the onion, garlic, and butternut squash.
To start the soup, melt the butter into the olive oil in a large pot. Then add the diced onion and saute the onion until it just starts to soften and turn translucent. Add the garlic next and cook for another few minutes.
Once the squash is tender, use a blender to puree the soup until smooth. (An immersion blender would be perfect for this, but I just used my Ninja.)
Note: Be careful when using a normal blender to puree the soup. If the soup is too hot, the steam may create pressure and cause the top to pop off of the blender while blending.
Transfer the soup back into the large pot and heat the soup over medium heat for another 5-10 minutes. Next, stir in the cheese a handful at a time until it fully melts into the soup. Then, stir in the coconut milk. Heat the soup for a few more minutes to make sure it is nice and hot and then serve!
Ladle the soup into a bowl, top with the spicy chickpeas, sprinkle on the chopped chives, and then put few drops of coconut milk on top!
Butternut Squash Soup
with Spicy Chickpeas
Ingredients:with Spicy Chickpeas
To make 3-4 servings of this delicious soup you will need:
- 2 Tbs OLIVE OIL
- 2 Tbs BUTTER, unsalted
- 1 ONION, diced
- 3 cloves of GARLIC, minced
- 4 cups (roughly 24 oz.) BUTTERNUT SQUASH, cubed
- 1 pinch RED PEPPER FLAKES
- 1/2 tsp SALT
- 1/2 tsp PEPPER
- 1/4 tsp SMOKED PAPRIKA
- 1/8 tsp NUTMEG
- 2 cups CHICKEN or VEGETABLE STOCK, low sodium
- 6 oz. GRUYERE CHEESE, grated
- 1/2 cup full-fat COCONUT MILK (you could also use HALF & HALF)
- chopped CHIVES, to garnish
To make the spicy chickpea topping you will need:
- 1 (15.5 oz.) can of CHICKPEAS, drained & rinsed
- 1/2 Tbs OLIVE OIL
- 1/4 tsp SALT
- 1/4 tsp PEPPER
- 1/4 tsp SMOKED PAPRIKA
- 1/4 tsp CAYENNE PEPPER
Directions:
- Preheat the oven to 425 degrees F, then get the chickpeas ready to bake.
- Toss the chickpeas in the olive oil, salt, pepper, smoked paprika, and cayenne pepper. Once the chickpeas are coated in the oil and spices spread them out on a cookie sheet (I put a piece of foil down to make for easy cleanup).
- Bake the chickpeas for 20 minutes, toss them, and then bake them for another 15-20 minutes so they get nice and crunchy (but not burnt)!
- While the chickpeas are baking, start peeling and chopping the onion, garlic, and butternut squash.
- To start the soup, melt the butter into the olive oil in a large pot. Then add the diced onion and saute the onion until it just starts to soften and turn translucent. Add the garlic next and cook for another few minutes.
- Stir in the cubed squash, red pepper flakes, salt, pepper, smoked paprika, and nutmeg. Cover the pot and cook for 6-8 minutes, stirring occasionally, until the squash has softened a bit.
- Add the chicken stock, cover the pot again, and cook until the squash is completely tender, roughly 15-20 minutes.
- Once the squash is tender, use a blender to puree the soup until smooth. (An immersion blender would be perfect for this, but I just used my Ninja.)
- Note: Be careful when using a normal blender to puree the soup. If the soup is too hot, the steam may create pressure and cause the top to pop off of the blender while blending.
- Transfer the soup back into the large pot and heat the soup over medium heat for another 5-10 minutes.
- Next, stir in the cheese a handful at a time until it fully melts into the soup. Then, stir in the coconut milk. Heat the soup for a few more minutes to make sure it is nice and hot and then serve!
- Ladle the soup into a bowl, top with the spicy chickpeas, sprinkle on the chopped chives, and then put few drops of coconut milk on top!
I found this recipe on the following blog: http://www.howsweeteats.com/2014/09/smoked-gruyere-butternut-soup-with-spicy-chickpeas/